2020 Note - This entry was imported from my old blog, some of the links may not be active.
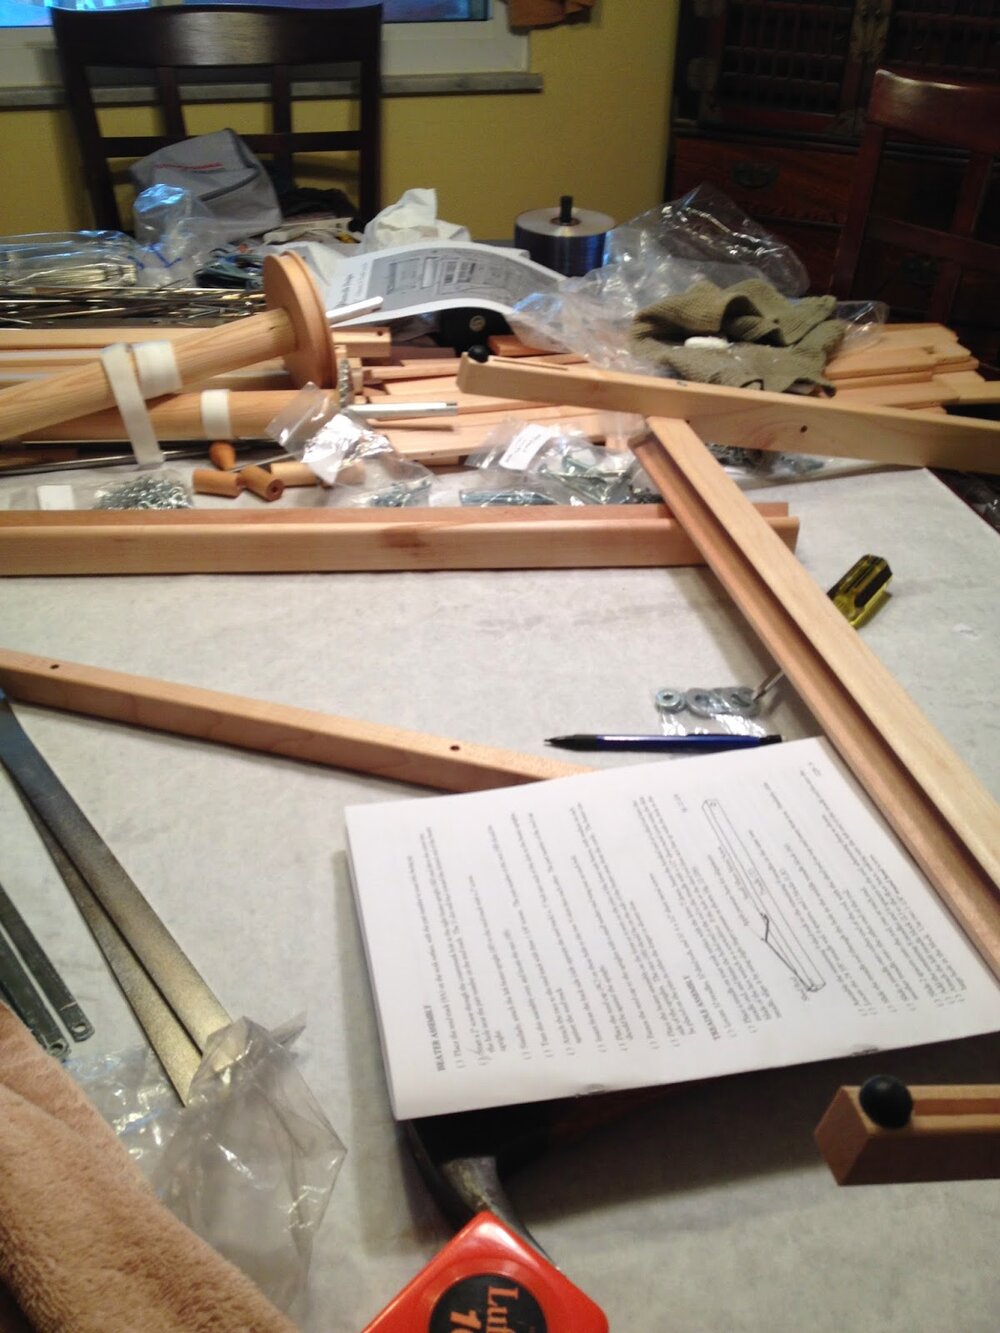
Recently I had the opportunity to purchase a loom in kit form. I had carefully considered my needs, my list of loom should haves and then committed. The lovely folks at the Yarn Barn helped in the process. Soon my loom was delivered in two big boxes. With a booklet of instructions and some deep breaths, I set to work.
First the wood needed to be finished. Finishing was a little sanding and then two coats of a natural color oil. There was a lot of wood to touch, but in all the first coat only took me about forty minutes. The second coat went quicker.
The next day, I cleared the decks and set to assembly. Bit by bit it took shape.

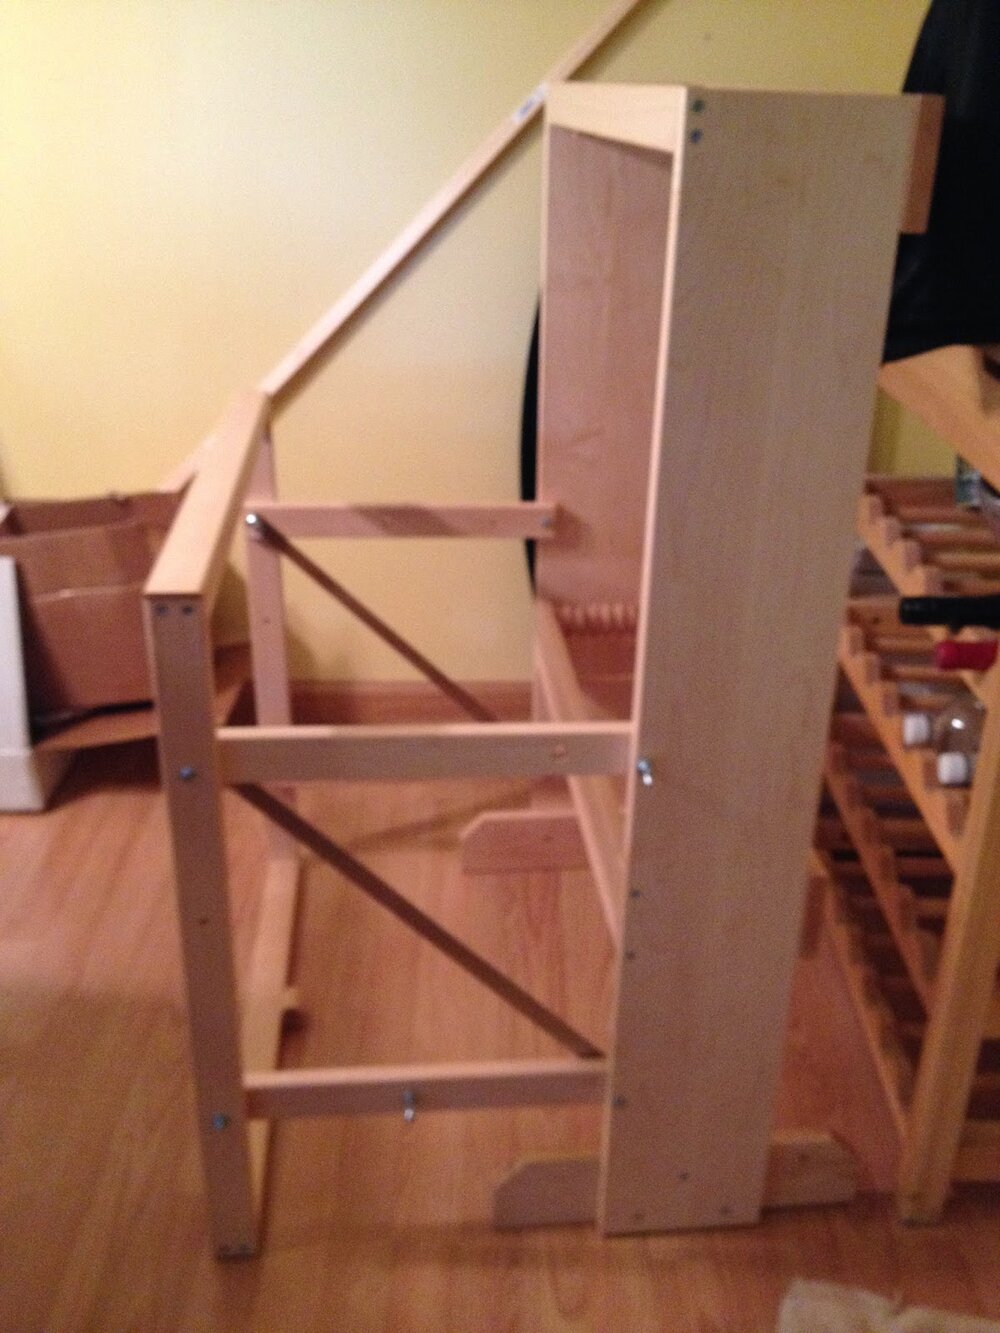
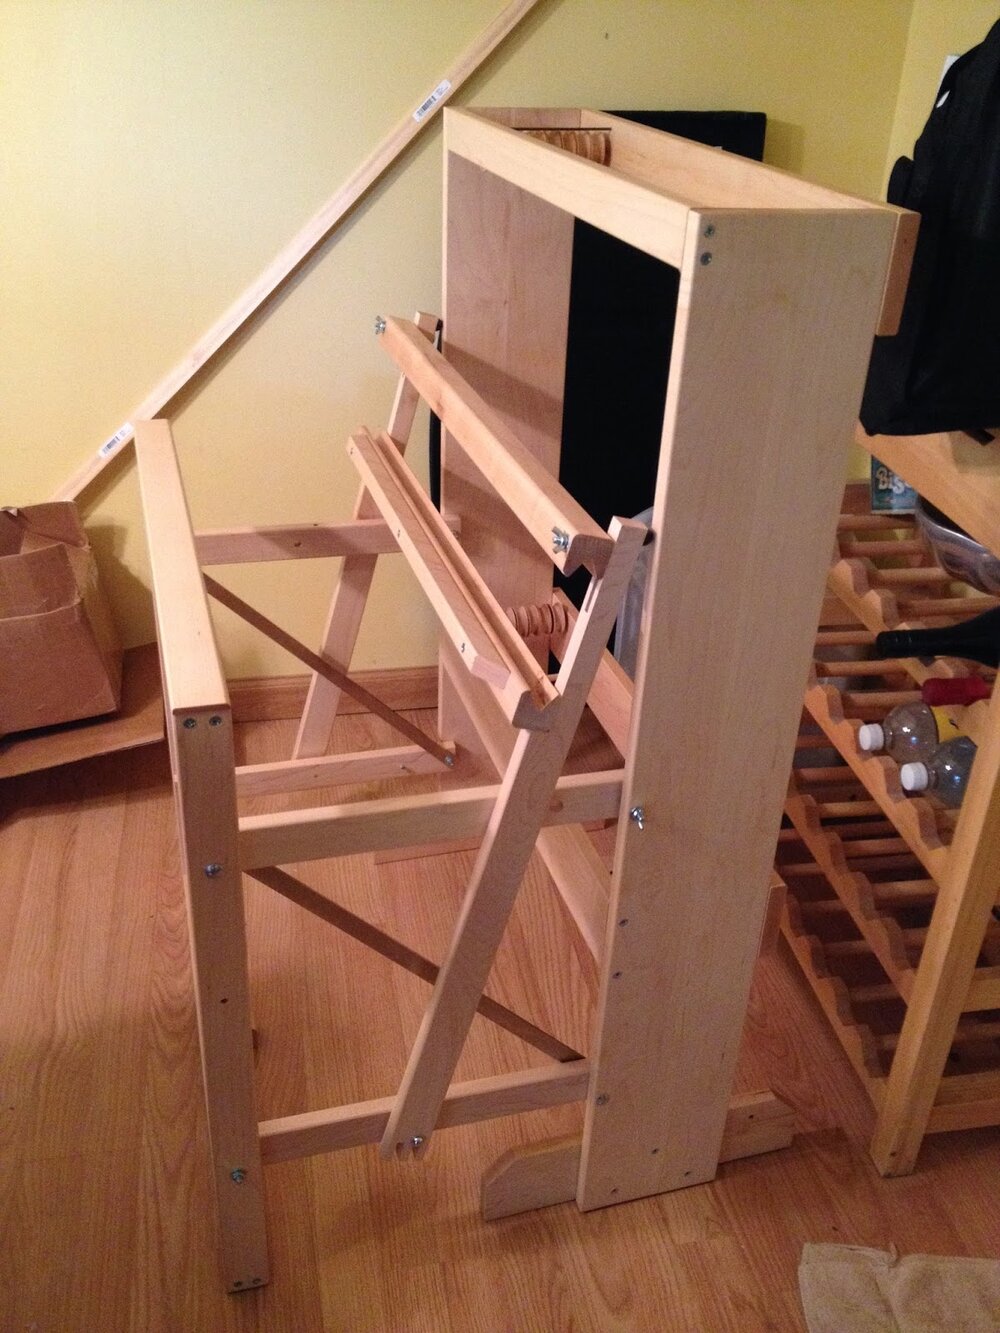
And then suddenly it was done. Suddenly might be a bit hasty language wise. In truth it took me a few hours on a Saturday and a few more on a Sunday. The results? A little loom that I love. This is a little 8 shaft Harrisville Designs 22" loom. It has all the traits that I love from the larger Macomber which shares the studio. It is reasonably transportable and weaves beautifully.
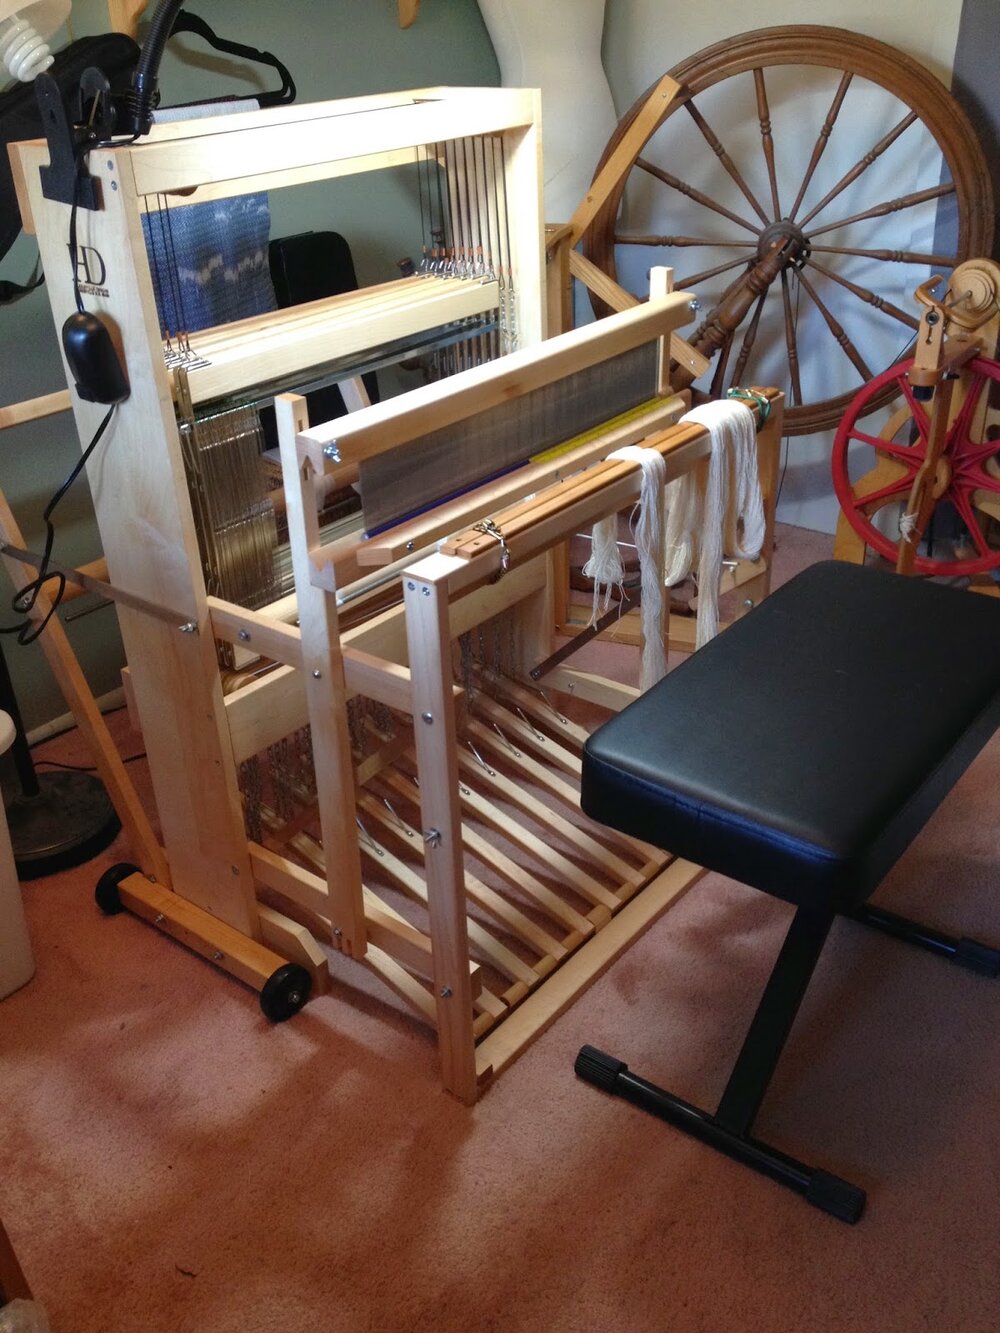
I put on a small sampling warp to check the tensioning, brake and to see if I needed to fiddle with anything. The loom performs beautifully and soon I'll put a hand painted warp on and away we'll go.
By assembling my own loom, I learn a lot about how it all connects. I feel confident that I know how everything works and how to fix what might need to be tweaked. It was even fun. The directions were mostly clear, but I did find the brake directions a bit confusing. I did figure them out and I'll include these photos just in case anyway needs them in a desperate Google search.
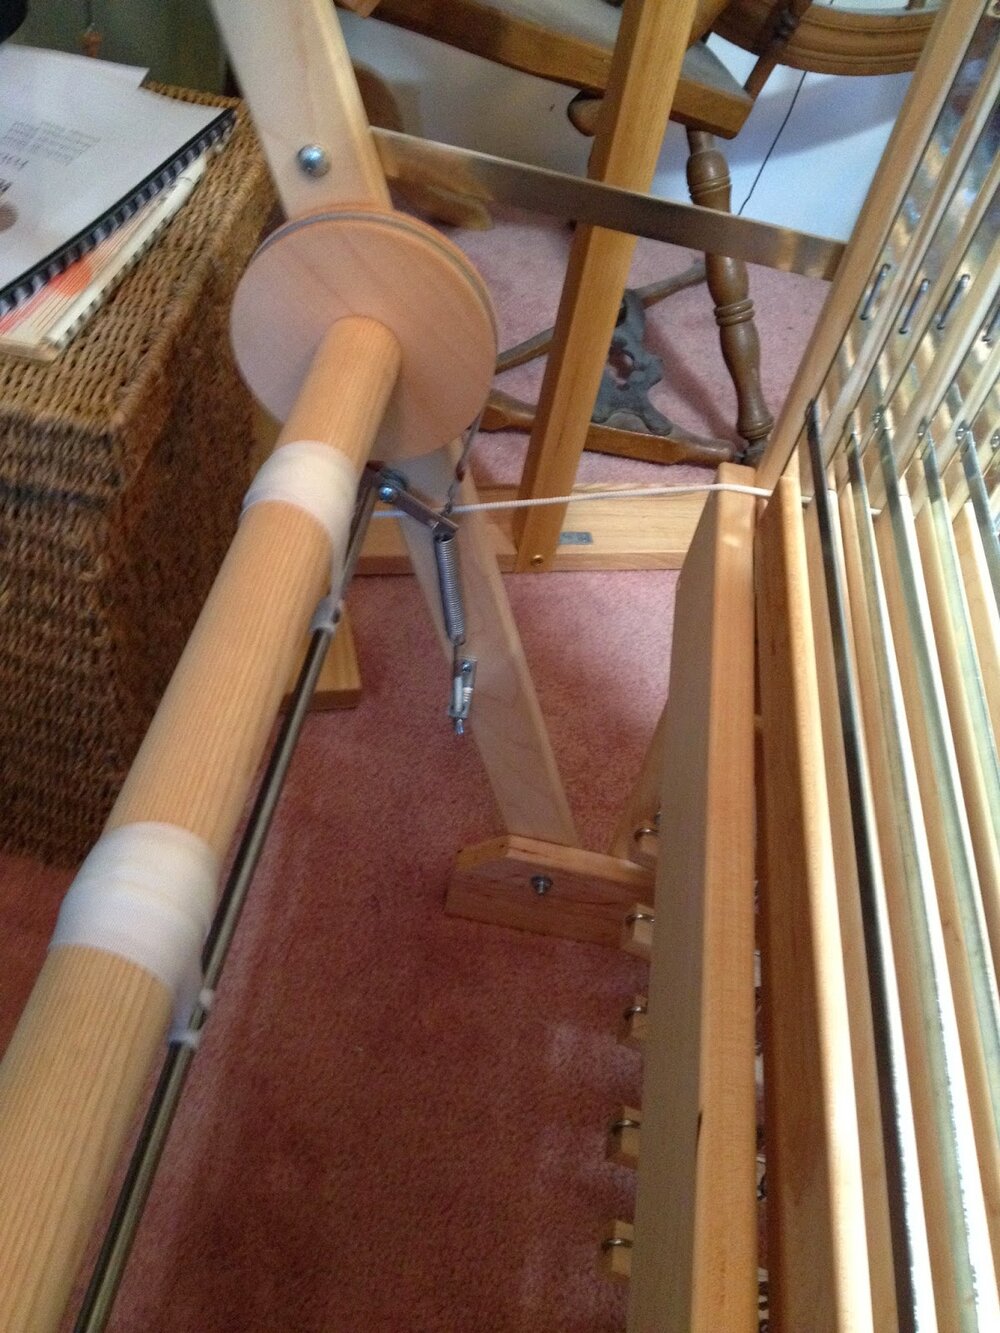
Warp brake assembly
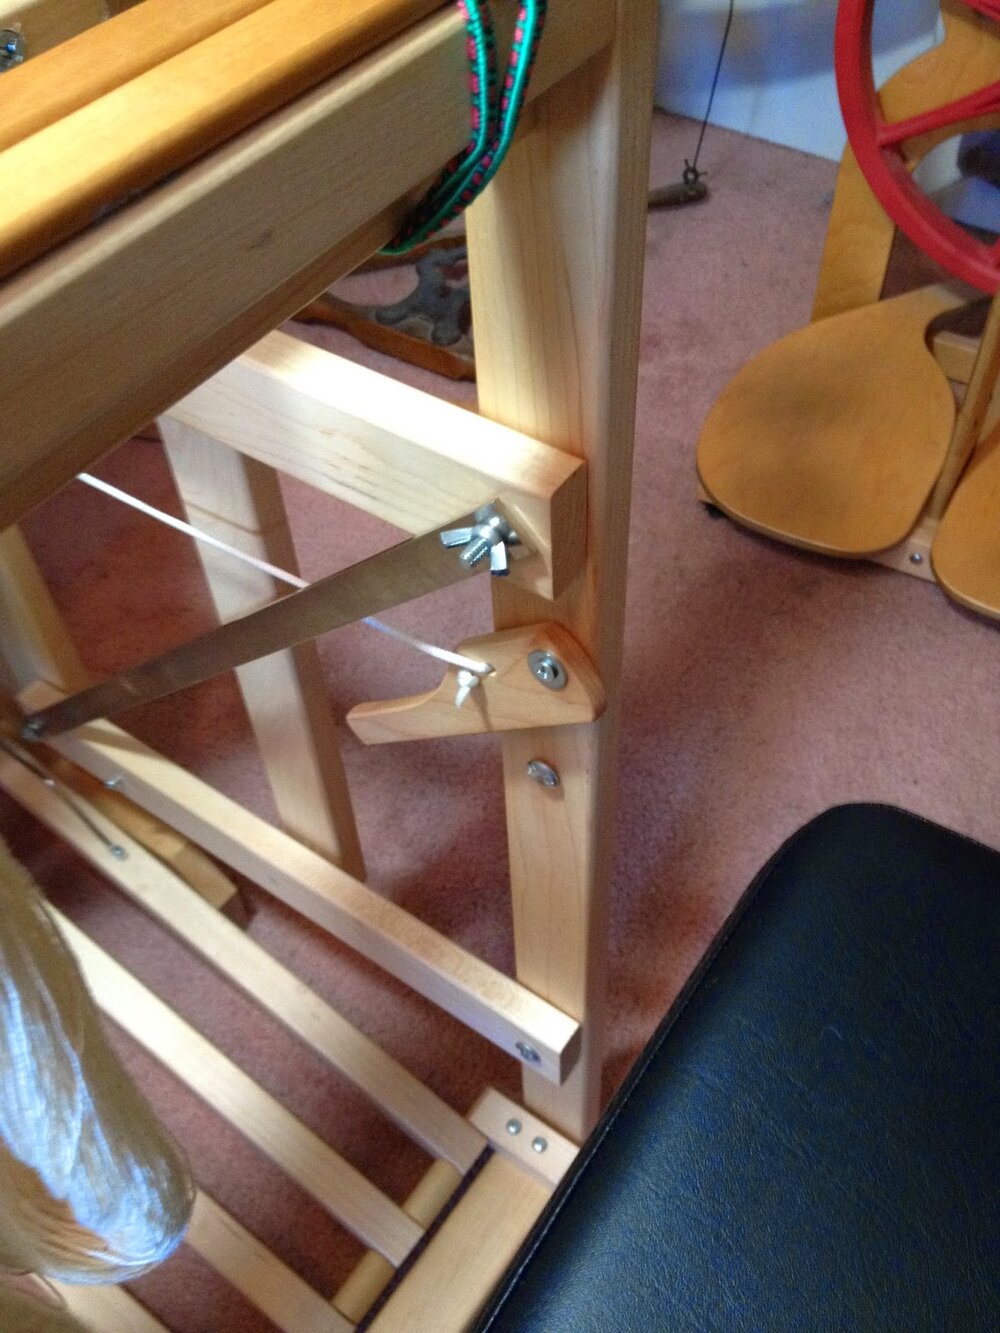
Brake release positioning